Many people complain about this step. The brass bushing that is provided needs to be reamed or drilled so that the ID is 1/4, in order to fit the AN bolt that goes through it.
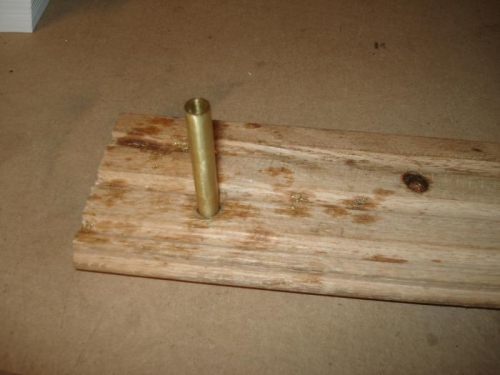
I drilled a piece of oak to fit the outside diameter of the brass bushing. I then taped the end of the bushing and inserted it into the oak, ensuring that it was 90 degrees. I used a 1/4 inch drill bit in the drill press and drilled the ID to 1/4 inch. Lot's of oil and a set of vice grips wrapped in tape were needed to hold the bushing.
Once both bushings were completed, they were then placed into the drill press and polished up with 600 grit paper. The bell crank was also cleaned up where the bushing went through and all the offending paint and burrs were removed. Both bushings rotated freely inside the bellcrank and the bolts fit nicely. The bolts are not supposed to rotate within the bushing, just the bushing in the bellcrank.
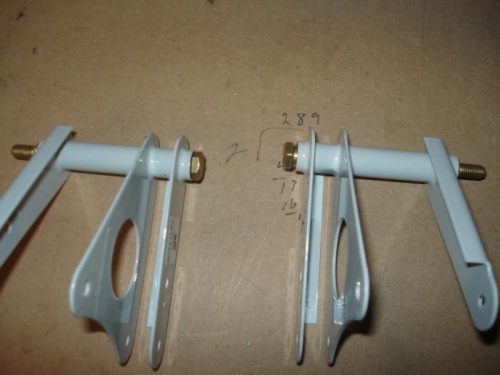
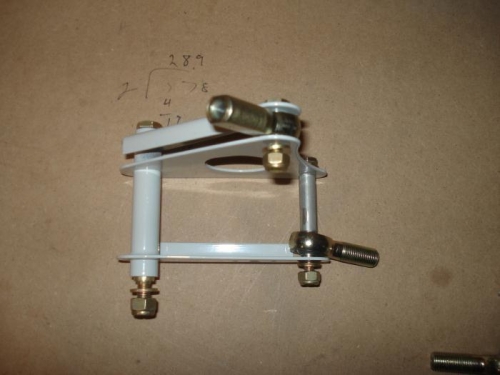
I retrieved all of the parts for the bellcrank and tested them for fit. Two aluminum bushings were cut to size of 1 and 1/16 of an inch. I'll grease the brass bushing at final assembly. I have to get the Dynon autopilot servo brackets to install prior to that.